Are you thinking about using solar power in India? Great choice! Solar panels can save you money, reduce your electricity bills, and help protect our environment. India gets plenty of sunshine most of the year. That makes solar energy a smart option for many households. This guide will explain everything step by step in a very clear way. We’ll use easy words, short sentences, and a friendly tone—as if you’re talking to a neighbor.
Whether you live in a city, town, or village, this guide will give you the knowledge to make smart solar choices for your home. Let’s get started!
1. Why Choose Solar Power in India?

Switching to solar power brings many benefits, especially in India:
- Save on Electricity Bills: Electricity costs are rising, with average rates now ₹8.2–₹9.8/unit in major cities (2025 data).
- Clean and Green Energy: Solar panels produce electricity without causing pollution. No smoke, no noise, and no fuel to burn. That means cleaner air and a healthier environment for everyone.
- Government Support: The Indian government offers enhanced subsidies (up to 45% in special category states under PM Surya Ghar 2.0) and new incentives for rural and SC/ST households.
- Energy Independence & Backup: Solar plus battery systems provide reliable backup during power cuts and reduce grid reliance.
- Environmental Benefits: Solar adoption helps India meet its renewable energy targets and reduces pollution.
Why Now? India gets around 4 to 7 kWh/m²/day of sunlight in most regions. That means solar panels can generate enough electricity to meet your daily needs—whether you’re in Delhi, Mumbai, Chennai, Bengaluru, or smaller towns. With utility rates rising and the push for renewable energy, now is a good time to invest in solar.
2. Types of Solar Panels
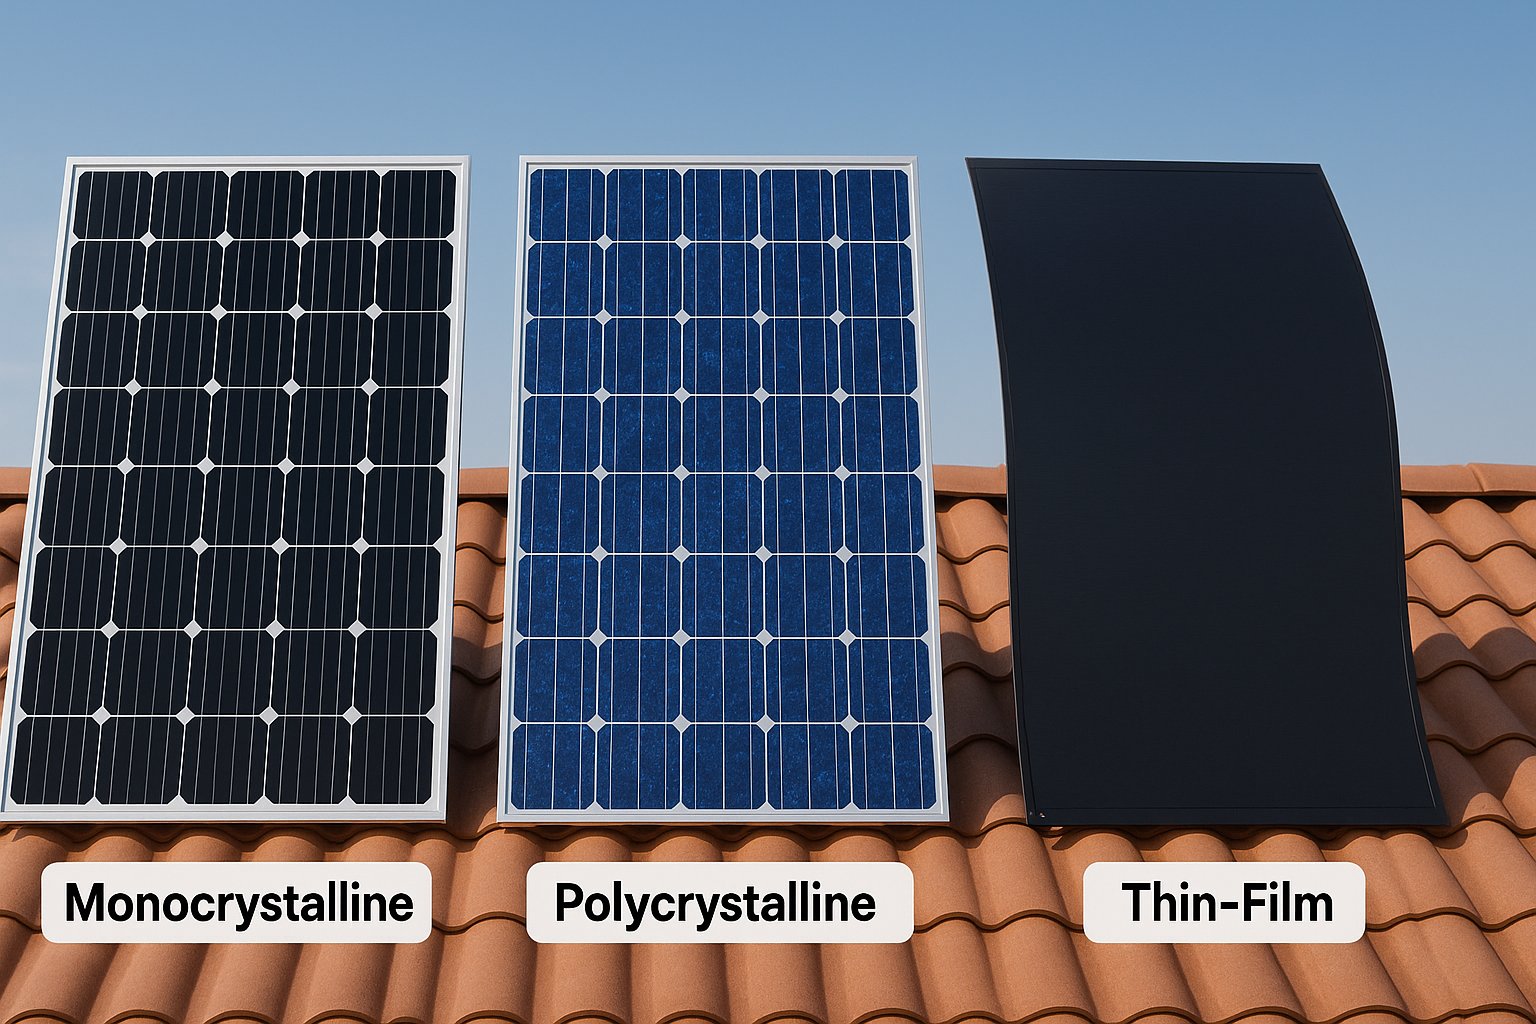
Not all solar panels are the same. Here are the main types you will find in India:
A. Monocrystalline Panels
- Made From: A single, high-purity silicon crystal.
- Look: Dark black or deep blue. Very smooth surface.
- Pros: Highest efficiency (18–24%). They work better in low light or cloudy days. They take up less space on your roof.
- Cons: Higher cost per watt compared to other types.
- Best For: Smaller roofs that need maximum power. Areas where you want the top performance.
B. Polycrystalline Panels
- Made From: Multiple silicon fragments melted together.
- Look: Bluish, slightly speckled appearance.
- Pros: Lower cost than monocrystalline. Widely available and budget-friendly.
- Cons: Lower efficiency (14–18%). Needs more roof space for the same power output.
- Best For: Larger roofs, or when budget is a key concern. Plenty of space to install many panels.
C. Thin-Film Panels (TFT)
- Made From: A thin layer of photovoltaic material (like amorphous silicon) on metal or plastic sheets.
- Look: Very slim and lightweight; can be flexible.
- Pros: Lightweight, flexible, and can be used in unusual places like curved roofs. Lower cost.
- Cons: Lowest efficiency (10–12%). Shorter lifespan (10–15 years). Needs a lot of space for the same power.
- Best For: Portable solar setups (like camping or small huts) or where weight is a big issue.
D. Emerging Technologies: TOPCon and HJT
- TOPCon (Tunnel Oxide Passivated Contact): 22–23% efficiency. Becoming available in metro cities, but limited in Tier 2/3 towns (4–6 week lead times).
- HJT (Heterojunction Technology): 23–25% efficiency, excellent for hot climates. Availability limited outside metros.
- MonoPERC: 20–22% efficiency, widely available and a good alternative if TOPCon/HJT are not in stock.
3. How Solar Panels Perform in Indian Climates
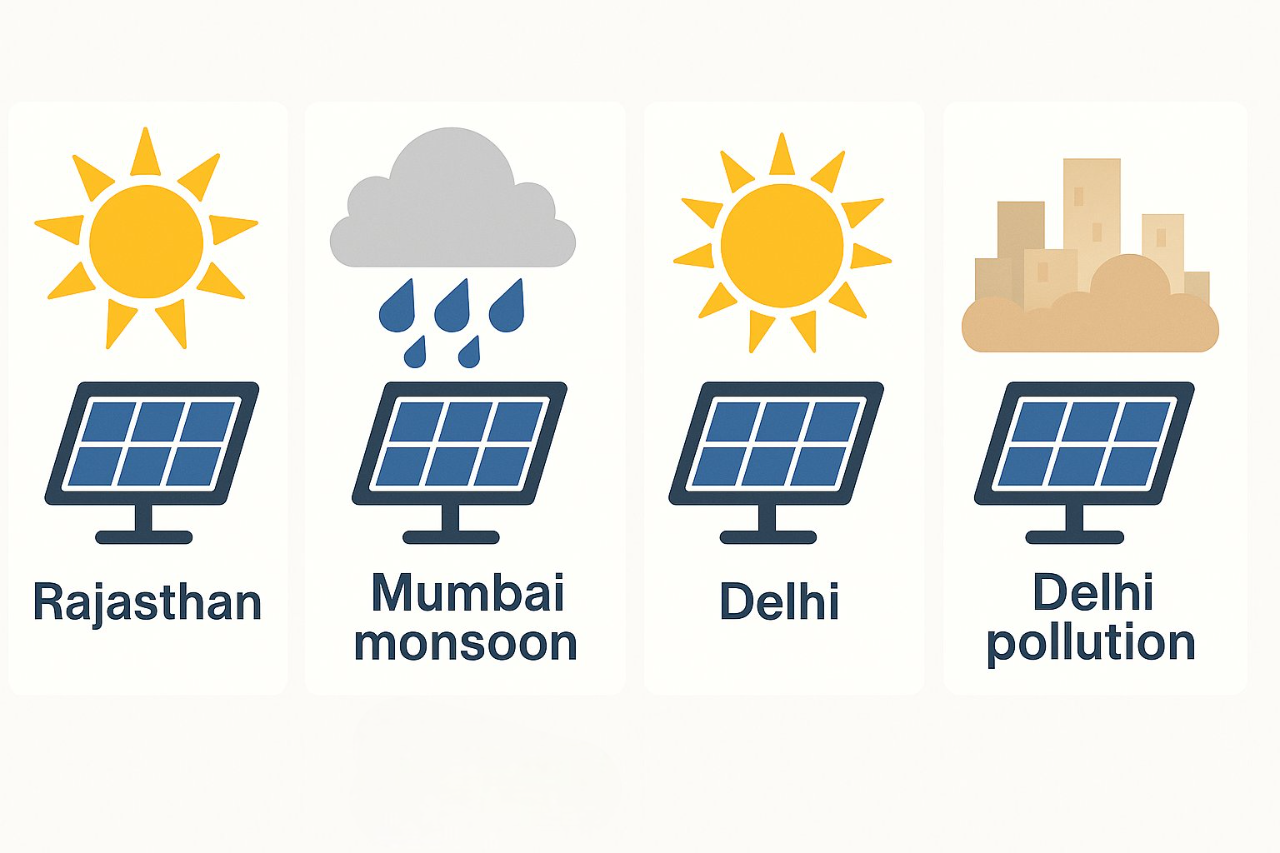
Solar panel output can change based on your location, weather, and installation factors. Here’s what to know:
A. Sunshine Hours and Irradiance
- Northern/Southern India: Around 4–6.5 kWh/m²/day.
- Coastal Regions (West/East): Around 4–5 kWh/m²/day, but can be affected by high humidity.
- Desert Areas (Rajasthan/Gujarat): Up to 6–7 kWh/m²/day. Very high potential.
B. Temperature Effects
- Heat Reduces Output: Every degree above 25°C can lower panel efficiency by 0.3–0.5%. In summer, panels can get very hot, especially on dark roofs.
- Higher Quality Panels: TOPCon and HJT have lower temperature coefficients (around 0.25%/°C), meaning they lose less power on hot days.
- Night Cooling: In arid regions, cool nights can partially offset daytime heat losses.
- Dust Impact: Urban dust can reduce output by 5–10%. Consider anti-reflective or self-cleaning panels for best results.
C. Monsoon and Clouds
- Monsoon Season (June–September): Clouds reduce output by 30–50%. Still, panels make some power—enough for daily needs if sized correctly.
- Rain Benefit: Rain washes away dust and dirt, improving efficiency after showers.
D. Dust and Pollution
- Urban Areas: Higher dust and pollution can settle on panels, lowering output by 5–10% if not cleaned regularly.
- Cleaning Schedule: In dusty areas, wash panels once a month during dry seasons. In rainy seasons, twice a year may be enough.
Tip: Use funds (if budget allows) to buy panels with anti-reflective coating and self-cleaning surfaces. These stay cleaner and work better in dusty or polluted areas.
4. Inverter Options and What They Do
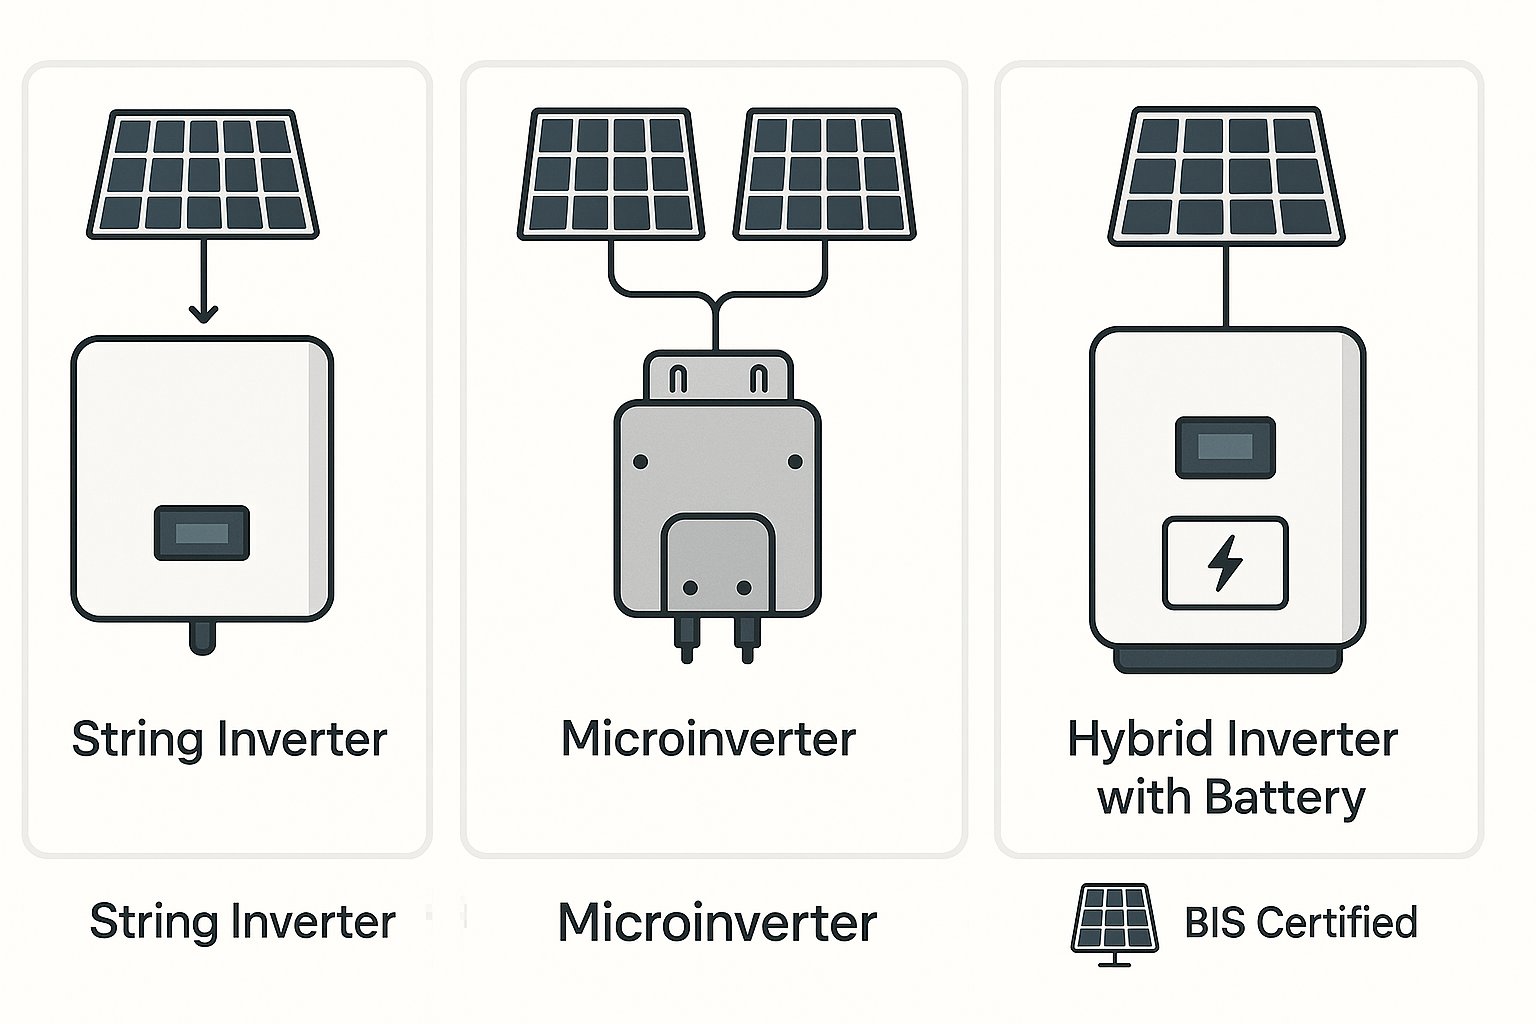
Solar panels generate DC (direct current). But your home appliances use AC (alternating current). Inverters convert DC to AC. Here are common inverter types in India:
A. String (Central) Inverters
- Description: One big inverter connects to a string of panels.
- Pros: Lower cost. Easy to install.
- Cons: If one panel in the string gets shaded or dirty, the whole string output drops.
- Best For: Large, unobstructed rooftops with minimal shading.
B. Microinverters
- Description: Small inverters attached to each panel.
- Pros: Each panel works independently. Shade, dirt, or debris on one panel won’t affect others. Easy to add more panels later.
- Cons: Higher upfront cost compared to string inverters.
- Best For: Roofs with varying angles or partial shading from trees, chimneys, or other buildings.
C. Power Optimizers
- Description: Attach to each panel, they optimize output before sending power to a central inverter.
- Pros: Better performance under shade than a simple string inverter. You can monitor each panel individually.
- Cons: More expensive than a basic string inverter, but less than full microinverter setup.
- Best For: Homes with some shading issues but not enough to justify microinverters.
D. Hybrid Inverters (Solar + Battery)
- Description: These inverters handle panel power, batteries, and grid connection in one unit.
- Pros: Power from panels can store excess in batteries for use during the night or power cuts. They can also export extra power to the grid.
- Cons: Higher cost than non-hybrid inverters.
- Best For: Homes that need backup power and want energy independence. Ideal in areas with frequent power cuts.
Choosing an Inverter: If your roof is mostly in full sun and you don’t need batteries, a good string inverter is budget-friendly. If shading is a concern, look at microinverters or power optimizers. If you want backup power, choose a hybrid inverter along with a battery system.
5. Mounting and Installation
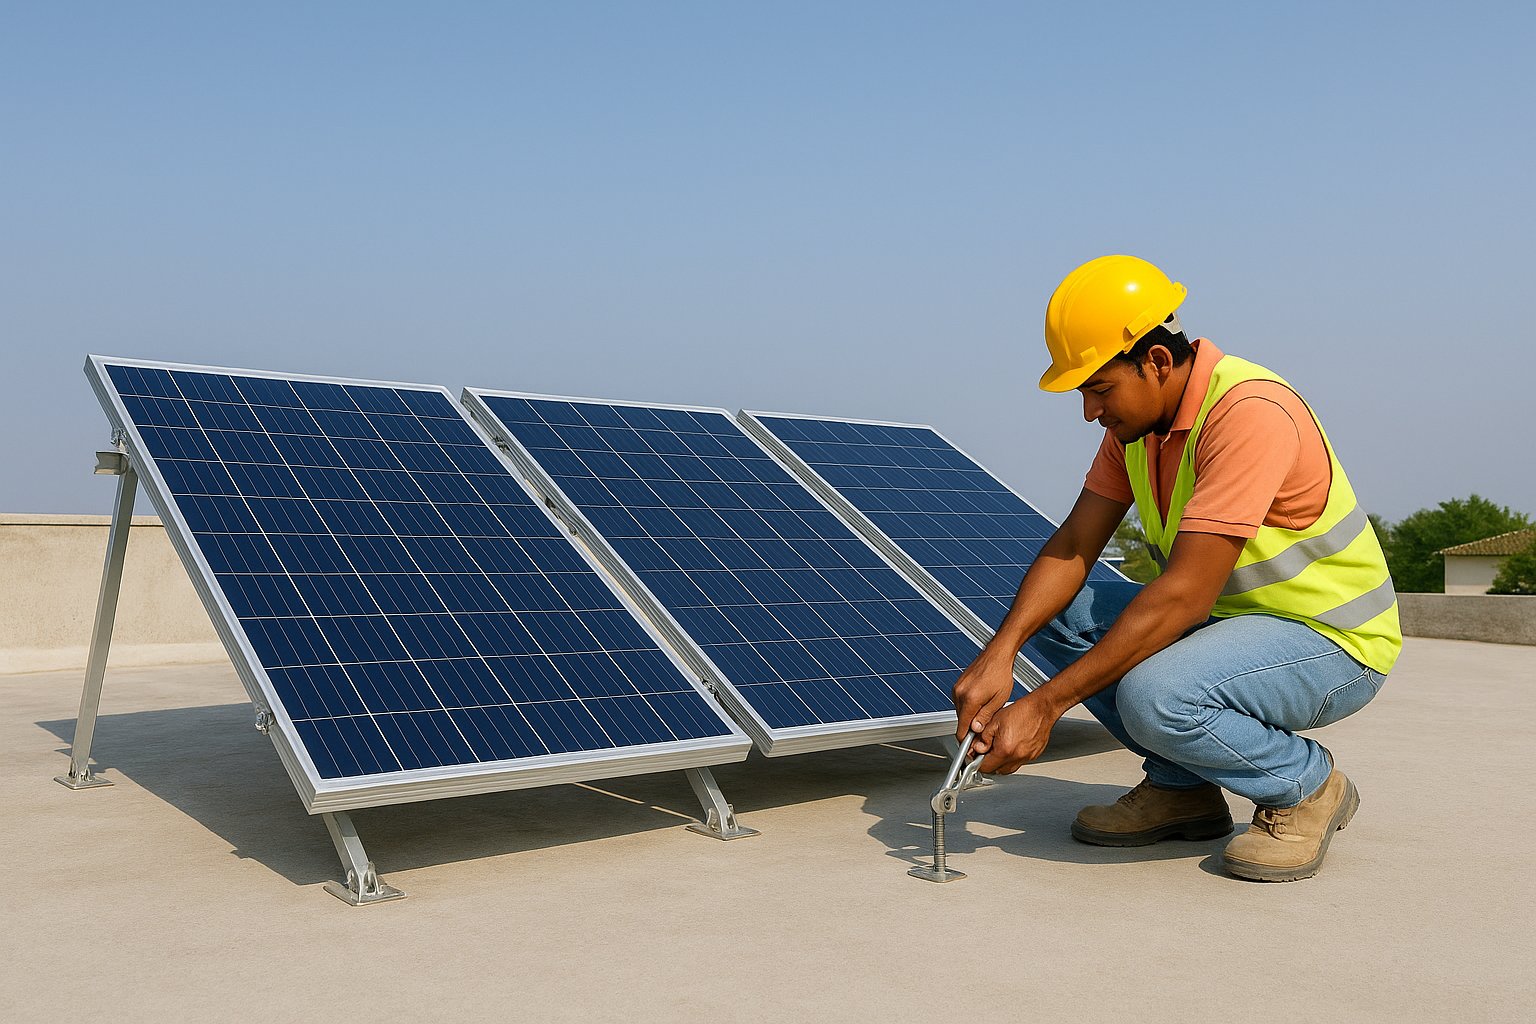
How and where you install panels matters a lot for output and longevity.
A. Roof Types in India
- Flat Concrete Roofs: Most common in urban homes. Installation involves tilted frames to set panels at an angle (usually 20°–30°) toward the sun.
- Sloped Tile or Metal Roofs: Use special roof hooks or rails to attach panels securely. Angle is already built-in.
- Terrace Gardens or Pergolas: Panels can go on metal frames above plants. This provides shade and also powers your home.
B. Tilt Angle and Orientation
- Optimal Tilt: Usually equals your latitude. For New Delhi (28°N), tilt around 28°–30°. Some installers suggest 10°–15° less for summer-focused generation.
- Orientation: In India, panels should face true south for maximum yearly output. Slight west or east placement can help evening or morning loads.
C. Mounting Structure Materials
- GI Mounts: Minimum 2.5 mm thickness for coastal/cyclone-prone areas (ISI 8753-2015 compliance).
- Aluminum Alloys: Use 6063-T6 grade for high-altitude or seismic zones.
- Wind/Seismic Compliance: In cyclone or earthquake-prone regions, ensure mounting structures meet local ISI and seismic standards.
D. Wiring and Safety
- MC4 Connectors: Industry standard for safe, leak-proof connections.
- Proper Earthing/Grounding: Essential to prevent shocks or damage during lightning or surge events.
- Lightning Arrestors/Surge Protectors: India has frequent lightning in monsoon season. Install surge protectors on your inverter and system.
E. Professional Installation Steps
- Site Survey: Installer inspects roof, measures area, checks shading, and views.
- Design & Proposal: Based on your electricity needs, they choose panel count, inverter type, and layout.
- Permits & Approvals: Apply for local municipal permit, electrical safety certificate, and net-metering agreement. This takes 2–4 weeks depending on locality.
- Mounting & Panel Setup: Install mounting structures, align panels, tighten bolts, and seal penetrations to prevent water leaks.
- Wiring & Inverter Installation: Connect panels to inverter, mount inverter in a shaded, ventilated spot, and run AC wires inside home.
- Inspection & Commissioning: Local electrical inspector visits to check safety. After approval, your utility issues net-metering connection. System is energized!
Helpful Tip: Schedule installation right after monsoon ends to avoid delays. Peak season is October to March in most states.
6. Top Brands and Certifications in India
Quality and trust matter. Look for these certifications and brand qualities:
- BIS Certification: The Bureau of Indian Standards (BIS) mark ensures panels meet Indian quality standards.
- MNRE Approval: Solar panels should be approved under Ministry of New and Renewable Energy guidelines for subsidy eligibility.
- Tier 1 Manufacturers: Global banking agencies rank solar panel makers. Tier 1 means a financially stable, high-volume manufacturer with proven reliability.
Trusted Indian Brands
- Tata Power Solar: One of the largest and oldest, with good after-sales service in metro and non-metro areas.
- Adani Solar: Fast-growing brand with high-efficiency panels and good warranties.
- Vikram Solar: Known for export quality modules and strong performance in Indian conditions.
- Waaree Energies: Leading local manufacturer with wide service network.
- Loom Solar: Focus on direct-to-consumer online sales and competitive pricing.
Global Brands in India
- LG Solar: Top-quality, high efficiency, strong warranties. Premium price.
- SunPower: Best-in-class efficiency, but expensive. Available through select installers.
- JA Solar, JinkoSolar: Large global players now have local offices, offering good performance-per-rupee.
Warranty Check: Look for 25 years performance warranty (≥80% output at 25 years) and at least 10 years product warranty. Inverters usually have 5–10 years warranty, extendable to 15–20 years.
Warranty Activation: You must register your system online with the manufacturer within 30 days of commissioning and submit annual maintenance reports to keep the warranty valid. Warranties may be void if rainwater harvesting systems are installed within 3m of the panels or if unauthorized repairs are made.
7. Cost, Subsidies, and Savings
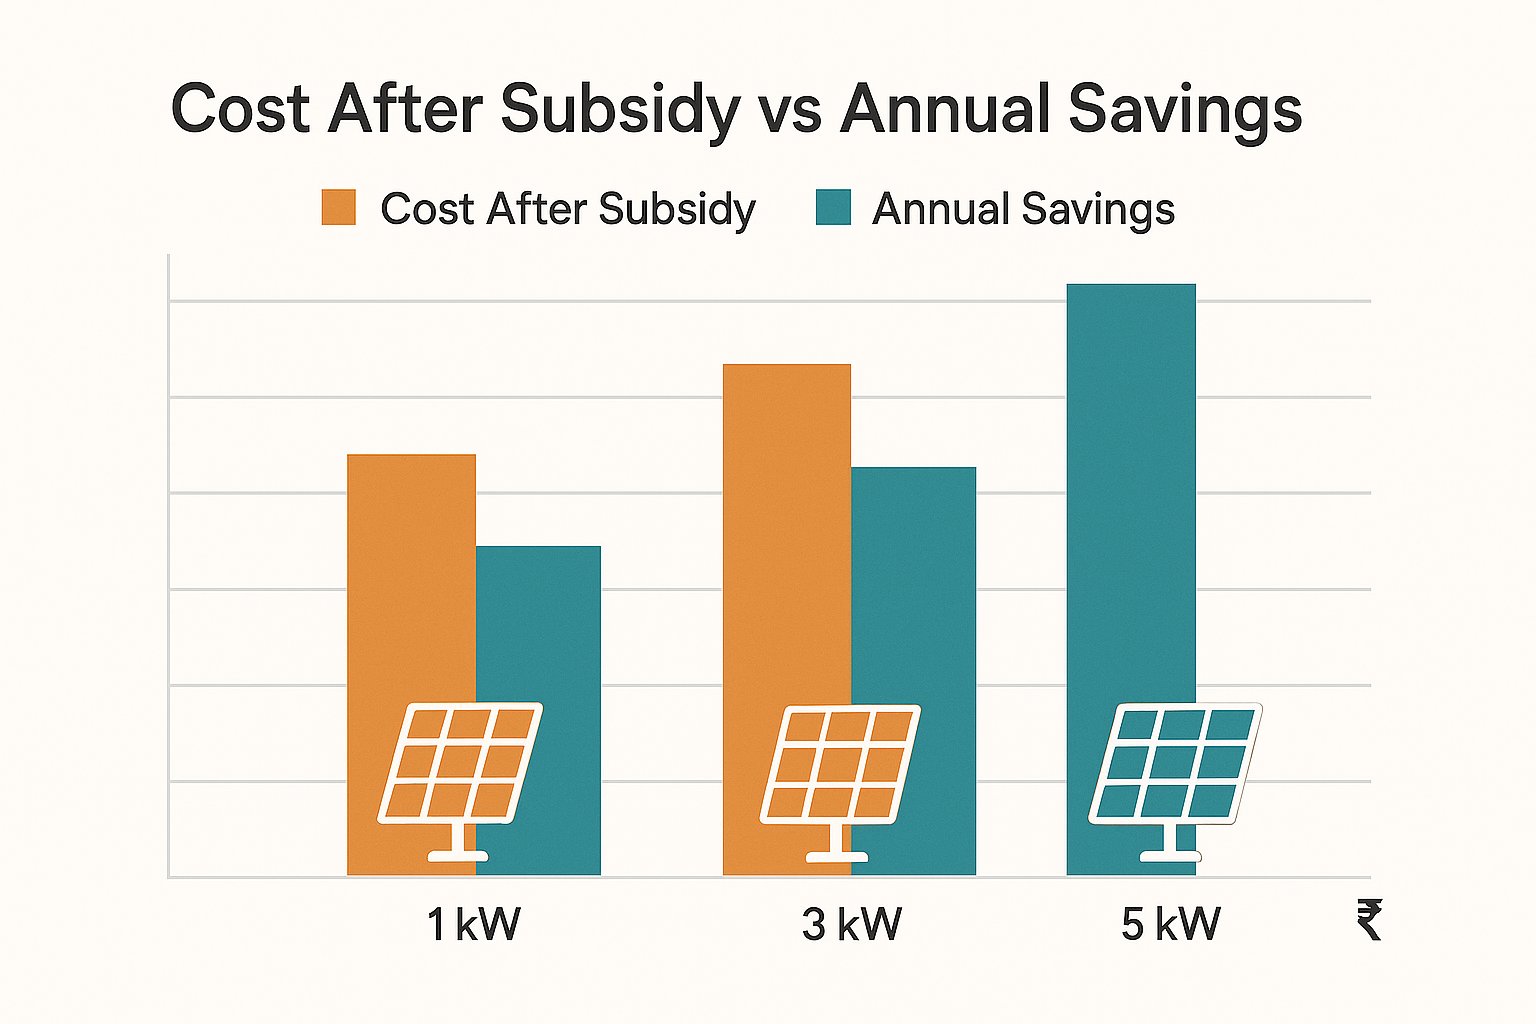
Solar costs have come down in India over the past decade. Here is a rough idea for rooftop solar:
| System Size | 2025 Cost (₹, after subsidy) | Estimated Savings/Year (₹) | Payback Time (years) |
|---|---|---|---|
| 1 kW | 48,000 – 55,000 | 12,000 – 15,000 | 3.8–5.0 |
| 3 kW | 1.4 – 1.7 lakh | 30,000 – 36,000 | 4.2–5.5 |
| 5 kW | 2.4 – 2.9 lakh | 50,000 – 60,000 | 4.5–5.8 |
| 10 kW | 4.5 – 5.5 lakh | 1,00,000 – 1,20,000 | 4.8–6.0 |
- Costs have increased due to 18% import duty and 9% GST on components.
- Payback periods are longer in coastal/agricultural zones and shorter in industrial areas.
A. Government Subsidy and Scheme
- Special Category States: Up to 45% subsidy (including new rural and SC/ST bonuses).
- Other States: 20–30% subsidy, with extra bonuses for installations before March 2026 in Maharashtra and Tamil Nadu.
- Rural Incentive: +5% for villages without grid stability certificates.
- Required Documents: Aadhaar-linked bank account, latest electricity bill, and (where needed) structural audit/fire NOC.
- Subsidy Timeline: 4–6 months (may be longer if Aadhaar-VPA linking or “green cess” applies in your state).
How to Claim: Installer usually handles subsidy application after you sign a contract. You pay balance after system is installed and inspected. Subsidy amount is credited to your bank account within 3–4 months.
8. Financing Options and EMI Plans
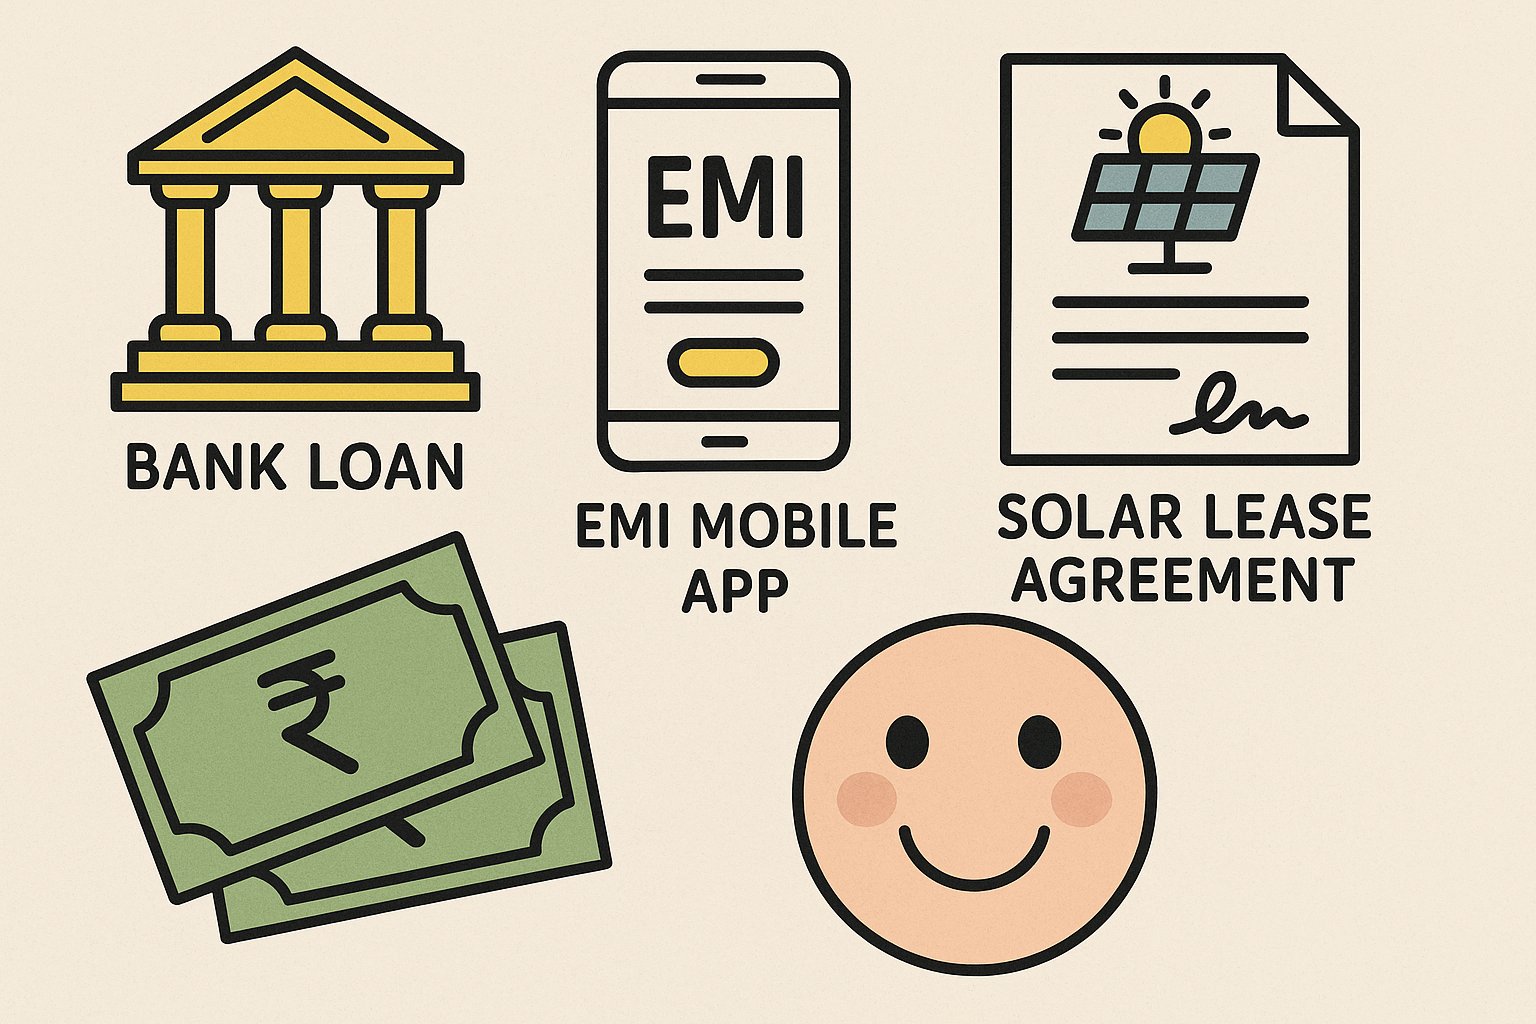
Solar is more affordable now with easy payment options:
A. Solar Loans
- Banks & NBFCs: SBI, HDFC, Axis Bank, IDFC First, and many NBFCs provide green loans for solar.
- Interest Rates: Public sector banks: 8.4–9.9%. NBFCs: 11.5–14.2%. EMI for a 5 kW system is ₹280–520/month higher than in 2023.
- Advantage: You own the system, claim tax benefits, and any excess power you sell goes into your pocket or bill credit.
B. Home Improvement Loans (Solar Category)
- Banks: Many offer a home improvement loan that covers solar. The rates may be similar to personal loan rates.
- Documentation: Minimal, usually requires property proof and income proof.
- Disadvantage: Higher interest rates compared to solar-specific loans.
C. EMIs via Fintech Platforms
- Companies like Oorjan, CleanMax Solar, and MT Solar offer EMI plans with zero down payment.
- They tie up with NBFCs to give 0% to 6% interest EMIs for 2–5 years.
- Tip: Read EMI terms carefully for processing fees and prepayment charges.
D. Solar Leases and PPAs
- Solar Lease: A third-party owns and maintains the system; you pay a fixed monthly rent. Maintenance is included, but you don’t own the system. Over 20–25 years, total rent can exceed outright purchase.
- PPA (Power Purchase Agreement): You pay only for the electricity generated (e.g., ₹2.5–₹3.5 per unit). Ideal for businesses more than homes, but some residential societies use PPAs.
Choose Wisely: If you want asset ownership and tax benefits, go for a solar loan or outright purchase. If you prefer no maintenance headaches and a small monthly cost, consider a lease or PPA.
9. Installation Steps and Timeline
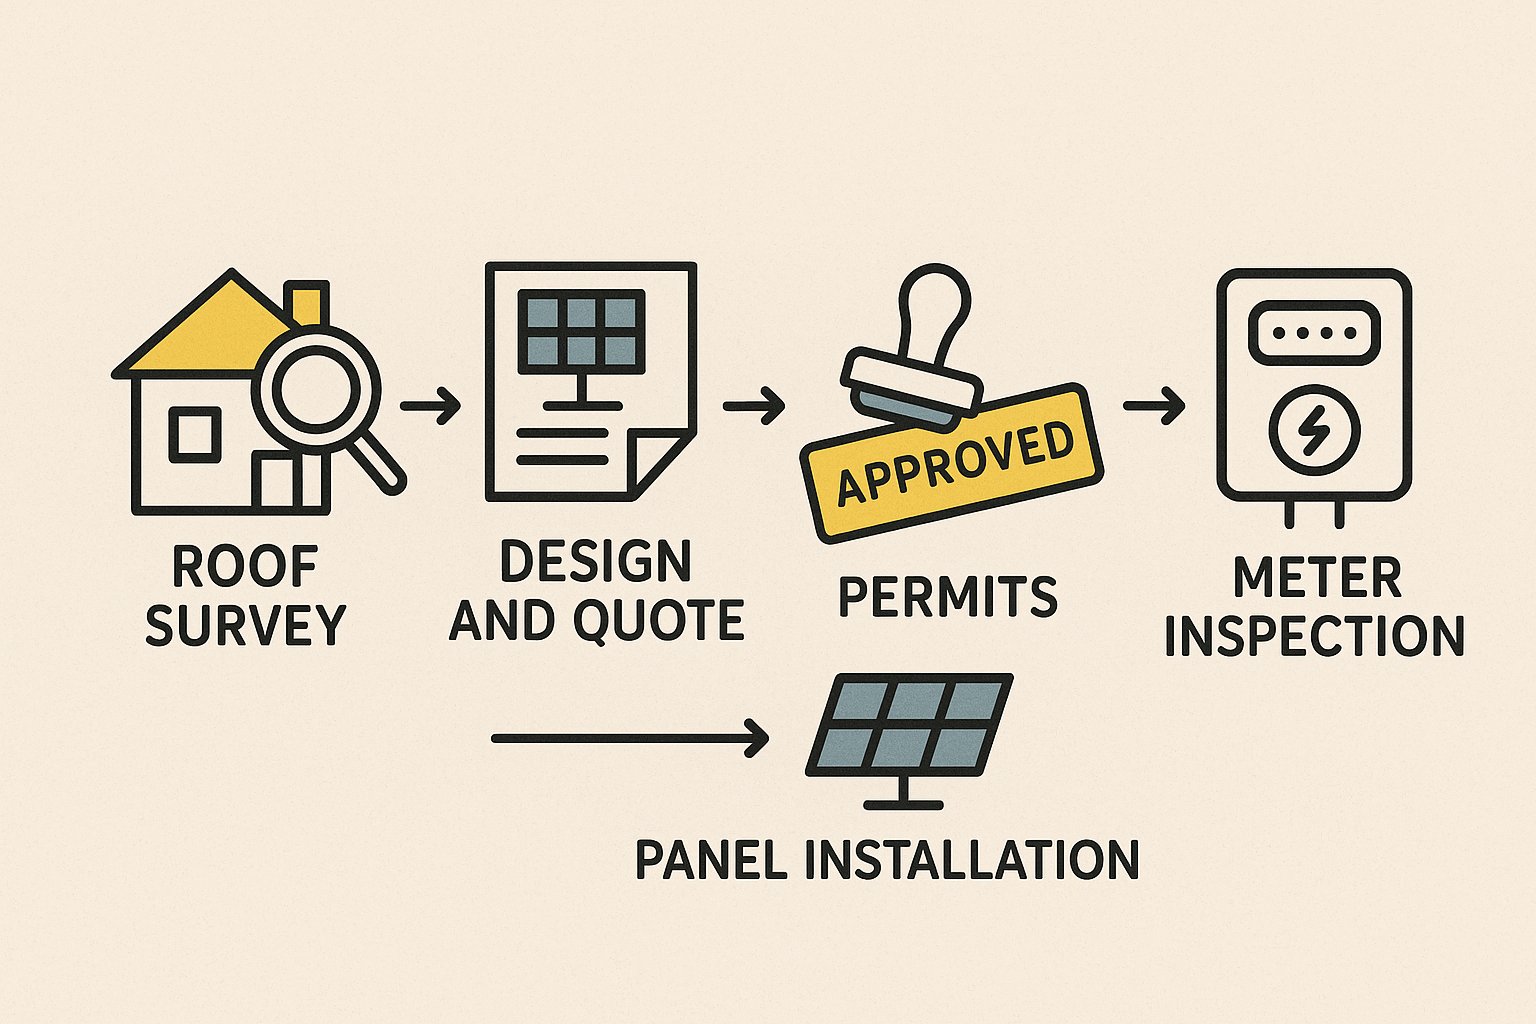
A smooth installation ensures maximum output and fewer hassles. Here’s the typical process:
- Initial Inquiry & Site Survey (1–2 days): Installer visits your home, inspects roof condition, measures area, checks shading, and notes electrical load.
- System Design & Quotation (1–3 days): Based on survey, installer provides a layout, equipment list, cost estimate, and expected yield.
- Agreement & Booking (1–3 days): You sign the contract, pay advance (often 10–20% of cost), and schedule installation date.
- Permit Applications (2–4 weeks): Installer applies for municipal permission, Fire NOC (if needed), and grid connectivity. Approval times vary: Gujarat (10 days), Bihar (63 days), Kerala (structural certificate needed for roofs >15 years).
- Equipment Delivery & Pre-Installation (1–2 days): Panels, inverters, and structure are delivered. Installer prepares mounting frames and checks roof for leaks or repairs.
- Installation (1–3 days): Mounting structures are fixed, panels are installed, inverters wired, and earthing done.
- Inspection & Commissioning (1–2 weeks): Local inspector checks safety. DISCOM installs net meter. Total process can take 1–2 months in fast states, up to 3–4 months in slow states.
- Subsidy Claim & Reimbursement (2–4 months): Installer submits subsidy claims. You get subsidy amount deposited into your bank account.
Total Time: Around 1–2 months from survey to power-on for most cities. It can take longer if DISCOM approval is slow in your area.
10. Maintenance for Long-Lasting Performance
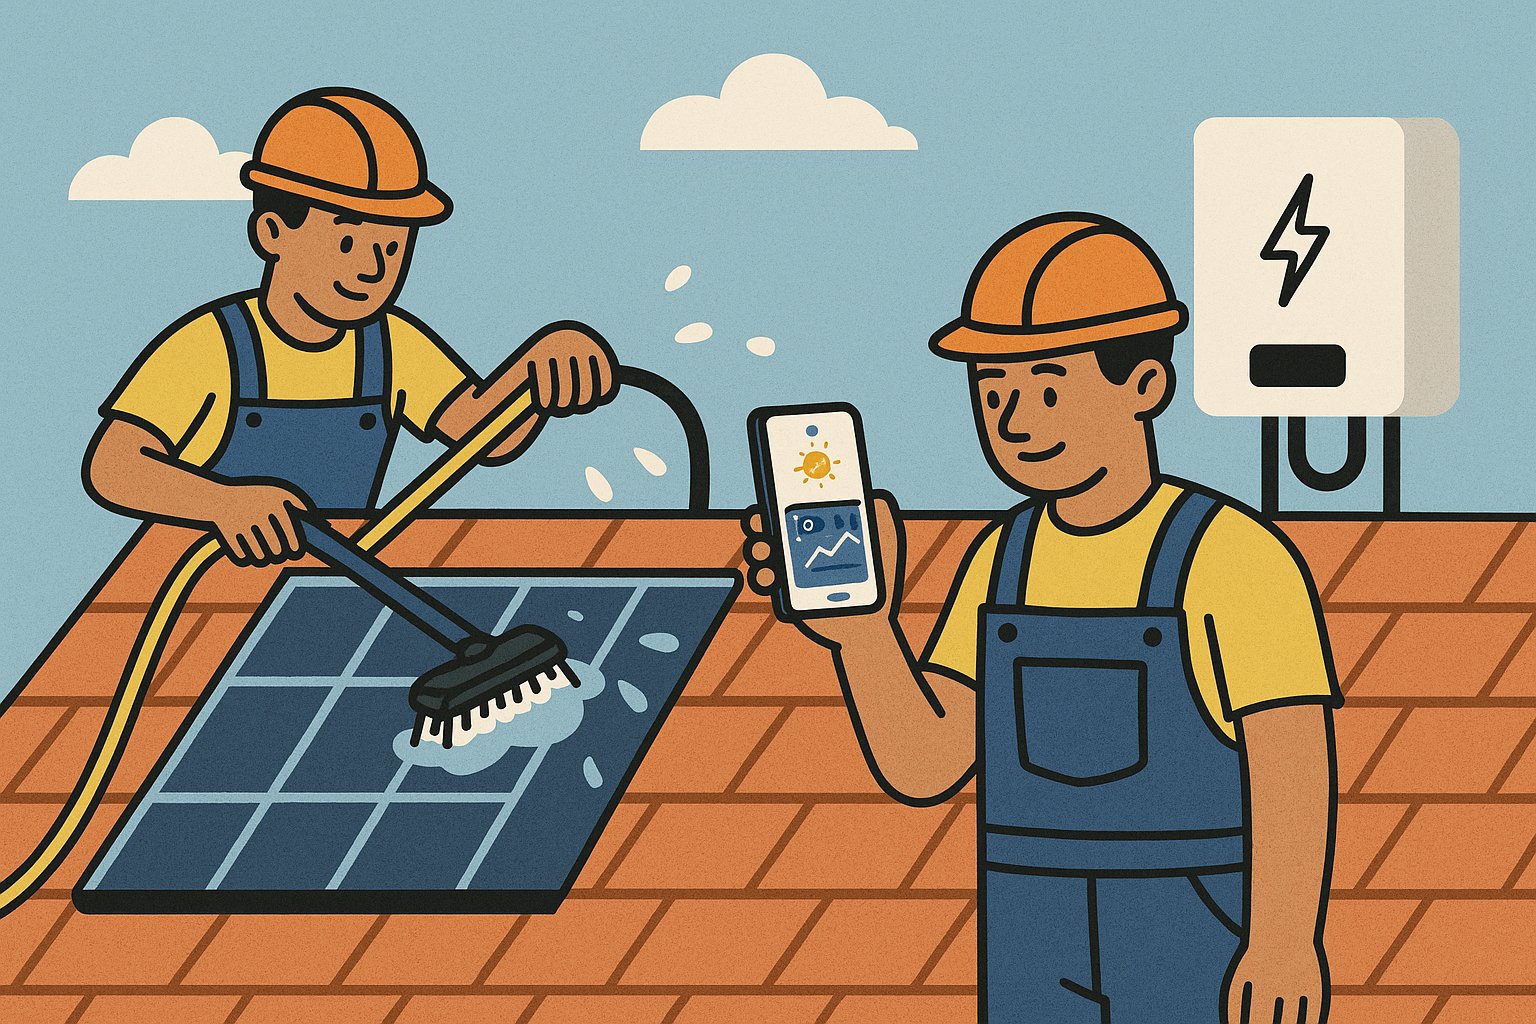
Solar panels are mostly maintenance-free, but a little care helps them work better:
- Cleaning: Dust, bird droppings, and pollution can reduce output by up to 10%. Clean panels with water and a soft brush once every 1–2 months in dusty areas. During monsoon, rainfall may be enough.
- Use water with TDS <500 ppm to prevent mineral deposits.
- Robotic cleaners are recommended for buildings over 3 floors, boosting output by 22% in dusty areas.
- Quarterly professional inspections are advised for earthing and safety compliance.
- Visual Checks: Inspect panels, mounts, and wiring every 3–6 months. Look for cracks, loose bolts, or rodent damage.
- Inverter Health: Your inverter often has a display or app. Check it monthly for error codes or unusual readings.
- Battery Care (If Installed): For lead-acid batteries, top up water levels every 3–6 months. For lithium batteries, follow manufacturer guidelines.
- Annual Maintenance Contract (AMC): Many companies offer AMC packages. For ₹2,000–₹5,000 per year, they clean panels, check wiring, test inverter, and inspect earthing.
Tip: Keep a log of inspections and cleaning dates. This helps track performance trends and spot issues early.
11. Financial Benefits and Savings Over Time
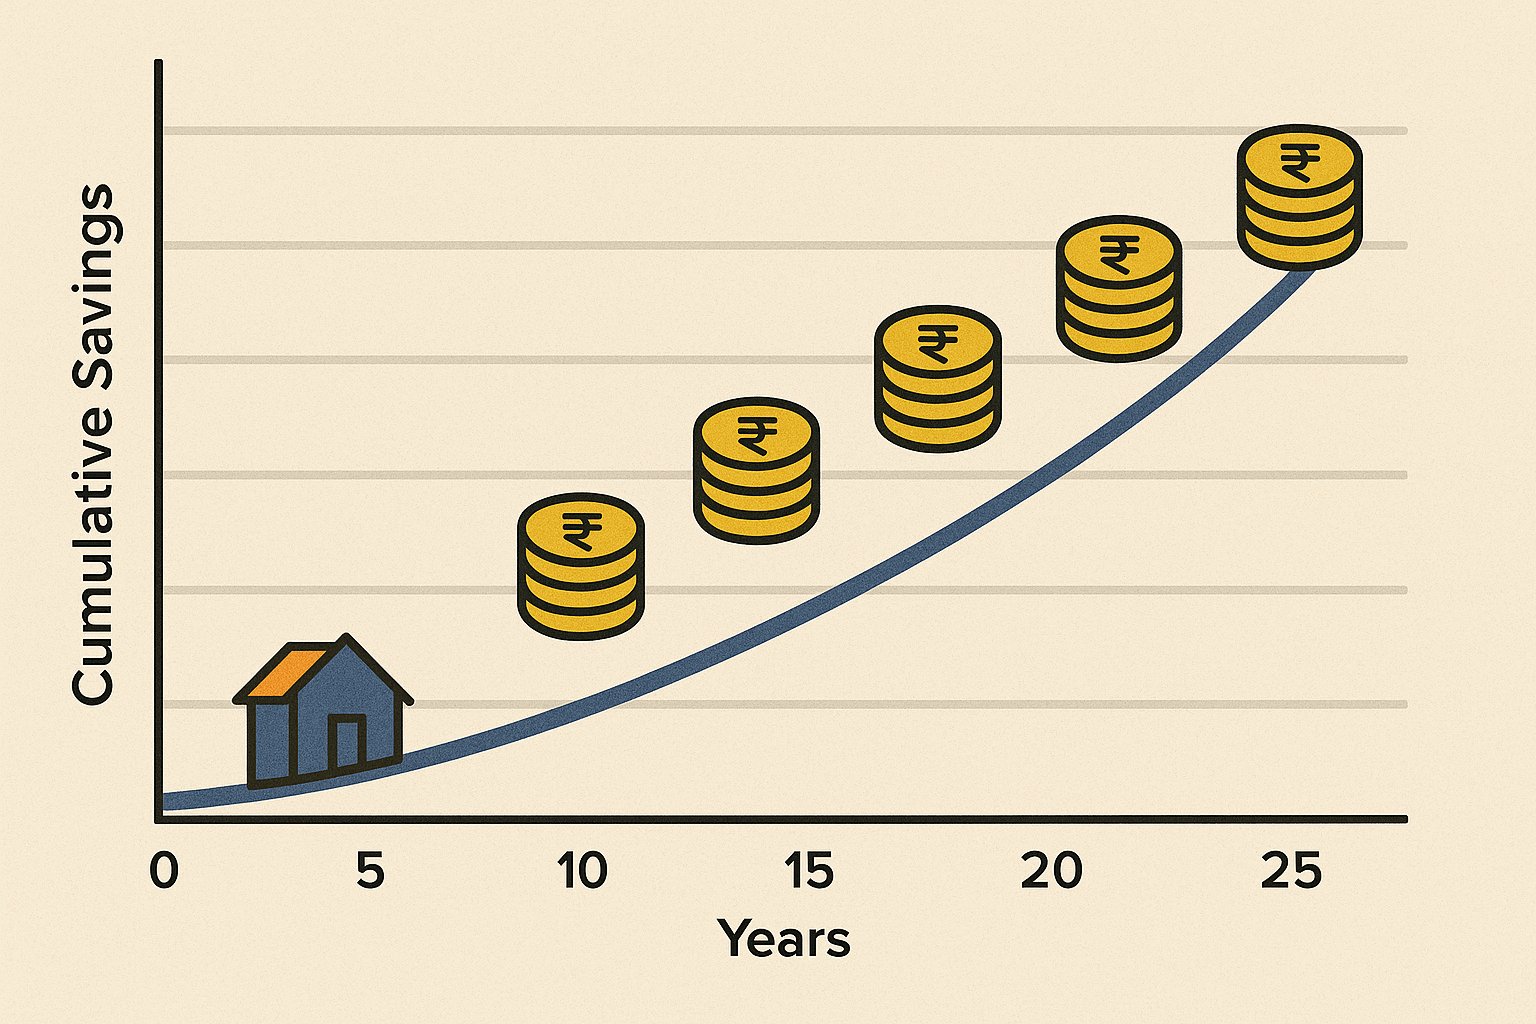
Let’s see how solar saves money over its lifetime:
- Year 1 Savings: You save on your electricity bill from day one. If your power bill is ₹3,000 per month, a 3 kW solar system can cut that by ₹2,500–₹3,000 monthly. That’s ₹30,000–₹36,000 a year saved.
- Payback Period: Typically 3–4 years after subsidy. After payback, you enjoy free power for many more years.
- Long-Term Returns: Over 25 years, a 3 kW system can save you ₹7–8 lakh (assuming electricity rates rise 5% yearly).
- Net Metering Benefits: In many states, if you produce extra power, you get credit from your DISCOM. Use those credits during cloudy days or nights.
Example Calculation (3 kW in Mumbai):
- Cost after subsidy: ₹1.1 lakh
- Annual electricity bill = ₹45,000
- Solar offset = 80% of load = ₹36,000
- Payback = ₹1.1 lakh / ₹36,000 ≈ 3 years
- 25-year savings (assuming 5% annual rate rise) ≈ ₹6–7 lakh after payback
12. Government Incentives and Net Metering Rules
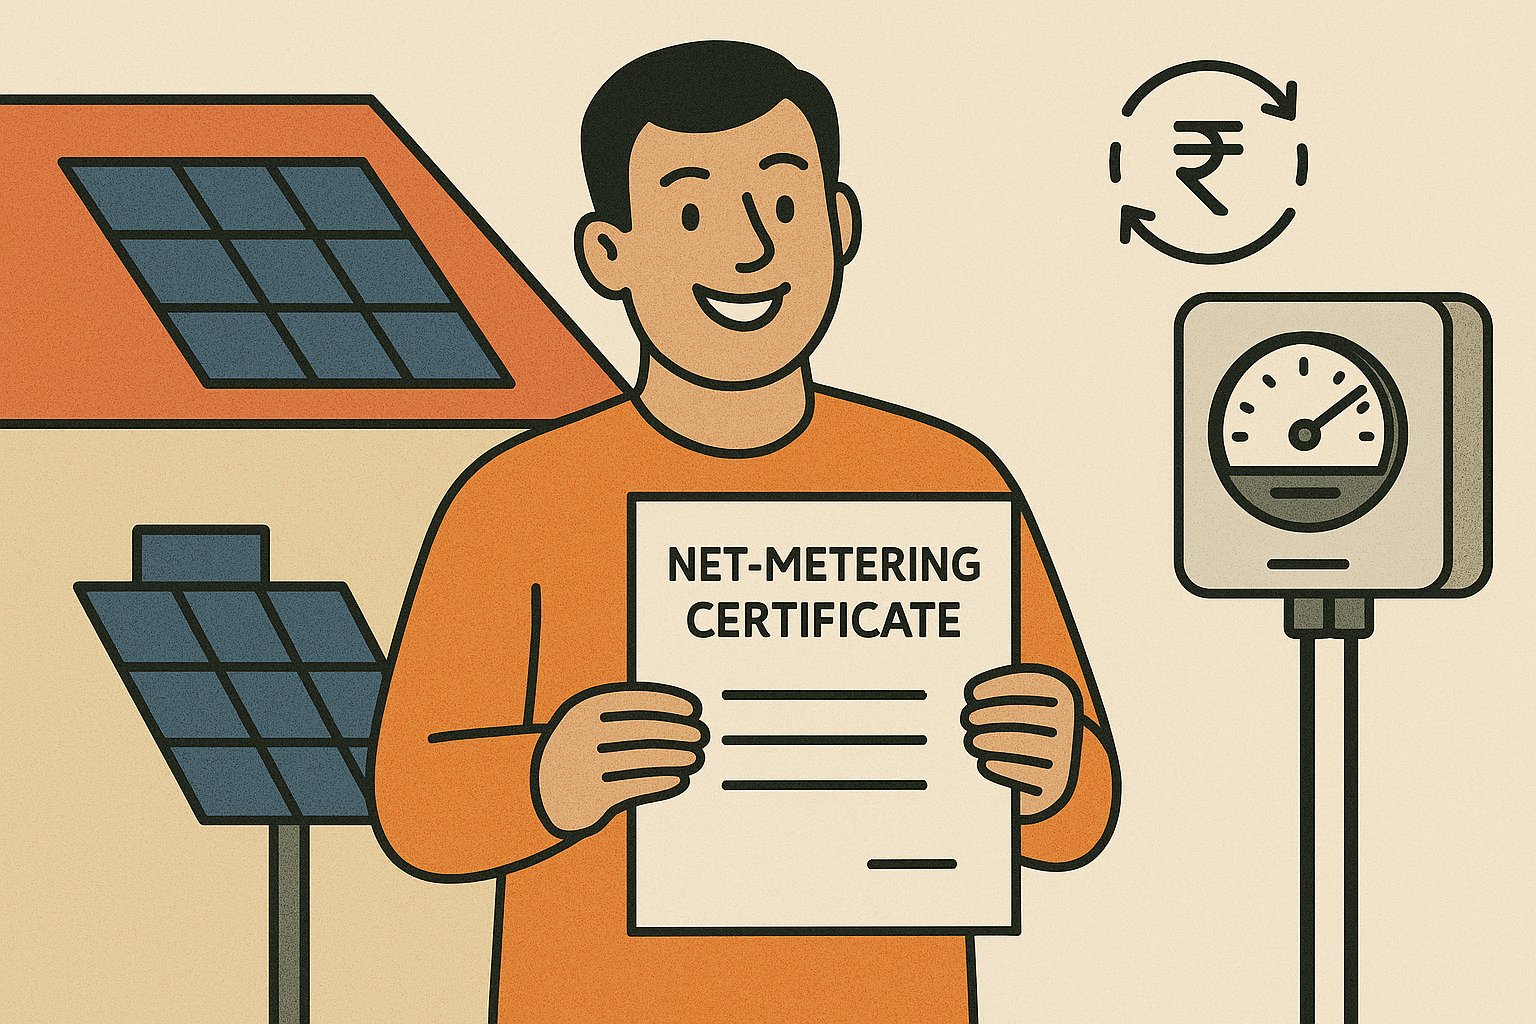
Incentives are key to lowering your cost:
A. State-Wise Subsidy (2025)
- Delhi/NCT: Subsidy up to 40% for 1 kW; 20% for 2–3 kW.
- Maharashtra: Up to 30% subsidy for residential rooftops.
- Karnataka: Up to ₹10,000 per kW or 40% for 1 kW.
- Tamil Nadu: Around 30% for residential rooftop customers.
Always check the latest rates on your state’s solar portal, as they can change yearly.
B. Net Metering Rules
- Bi-Directional Meter: Your meter runs forward when you use grid power and backward when you send solar power to the grid.
- Carry Forward Credits: Most states allow you to carry forward unused credits for 1–3 billing cycles.
- Buyback Rates: Some DISCOMs offer a buyback rate (50–75% of retail) for excess power. Check with your local DISCOM.
Tip: If your net generation is more than your consumption over a year, some states pay you for the net surplus at a fixed rate. Always read the net-metering policy for your state.
Solar Panel FAQs
If you have a standard grid-tied system without batteries, it will shut off during a power cut for safety. If you add a battery or have a hybrid inverter, you can power essential loads even when the grid is down.
Yes. Use microinverters or power optimizers to maximize output under partial shade. Or trim branches to reduce shading.
Most panels come with a 25-year performance warranty (80–85% output at 25 years). With proper care, panels can last 25–30 years or more.
No. Cleaning every few months and a yearly check by a technician is enough. Batteries, if used, may need extra care.
Yes. Make sure your inverter and meter can handle extra capacity. If you use a string inverter, adding more panels may require a bigger inverter.
Yes. Quality panels are tested for heavy rain (up to 2,400 Pa). Mounting structures are designed to withstand strong winds and rain. Always choose a good installer.
Most major cities (Mumbai, Delhi, Bengaluru, Chennai, Kolkata, Pune, Ahmedabad) offer net metering. Smaller towns and rural areas may have different rules. Check with your local DISCOM.
Final Words
Switching to solar is a big decision but a rewarding one. It saves you money, reduces pollution, and gives you energy independence. In India, with ample sunlight and growing government support, rooftop solar makes sense for many households.
Take these steps now:
- Research local installers and ask for free quotes.
- Check the latest subsidies and net-metering rules for your state.
- Compare panel brands, inverter types, and mounting options.
- Plan your budget and financing—loans, EMIs, or subsidies.
- Schedule your installation after the monsoon to avoid delays.
With this guide and simple planning, your home can switch to clean, reliable solar power. Ready to make the change? Contact a trusted installer today and let sunlight power your future!

